Sendbird chat – how to optimize message rendering

Sendbird UIKit for React provides User Interface components for chat creation. You can add the chat functionality to your application, including video and voice conversation. Chat is fully functional, you can start chatting after importing the npm package.
Customize message thread
We would like to customize how messages are displayed: add an additional CSS class, message author and time of creation. This can be done by implementing the renderChatItem component (which is a prop for Channel item).
// App.jsx
import React from 'react';
import './App.css';
import { Channel, SendBirdProvider } from "sendbird-uikit";
import { MyCustomChatMessage } from './MyCustomChatMessage';
import "sendbird-uikit/dist/index.css";
const YOUR_APP_ID = 'XXX';
const USER_ID = 'YYY';
const CHANNEL_URL = 'ZZZ';
const App = () => {
  return (
      <div className="App">
        <SendBirdProvider appId={YOUR_APP_ID} userId={USER_ID}>
          <div style={{ height: '500px' }}>
            <Channel
                channelUrl={CHANNEL_URL}
                renderChatItem={({ message, onDeleteMessage, onUpdateMessage }) => (
                    <MyCustomChatMessage
                        message={message}
                        onDeleteMessage={onDeleteMessage}
                        onUpdateMessage={onUpdateMessage}
                    />
                )}
            />
          </div>
        </SendBirdProvider>
      </div>
  );
};
export default App;
Make sure to fill in config variables: YOUR_APP_ID, USER_ID and CHANNEL_URL.
Sendbird customized messages
Our component MyCustomChatMessage will override the React UIKit behavior. We can decide how messages should look like, add different rendering based on message type or message sender. To display human friendly time, we’re getting timestamp and converting it to hour format.
// MyCustomChatMessage.jsx
import React from 'react';
import { MsgTypeFile } from './MsgTypeFile';
export const MyCustomChatMessage = (props) => {
    const { message, onDeleteMessage, onUpdateMessage } = props;
    console.log("rendering");
    return (
        <div className={(message.customType ? "type--" + message.customType : '')+ ' customizedMessage'}>
            <div className="customizedMessage_content">
                { message.messageType === 'file'
                    ? (
                        <MsgTypeFile message={message} />
                    ) :
                    (
                    <>
                        {message.message}
                    </>
                    )
                }
            </div>
            <div className="customizedMessage_time">
                { getTimeFromTimestamp(message.createdAt) }
            </div>
            <div className="customizedMessage_author">
                {` by
                    ${message.messageType === 'admin'
                    ? 'Channel Admin'
                    : message.sender && message.sender.userId}
                `}
            </div>
            <hr/>
        </div>
    );
};
const getTimeFromTimestamp = (timestamp) => {
    const date = new Date(timestamp);
    const hours = date.getHours();
    const minutes = "0" + date.getMinutes();
    const seconds = "0" + date.getSeconds();
    const formattedTime = hours + ':' + minutes.substr(-2) + ':' + seconds.substr(-2);
    return formattedTime;
}
Chat images rendering
User can upload an image file and send it to chat. We’re going to add a separate view to get file metadata and display the image with the img-fluid CSS class.
// MsgTypeFile.jsx
import React from 'react';
export const MsgTypeFile = (props) => {
    const {message} = props;
    return (
        <div className="img-fluid">
            <img
                className="img-fluid"
                src={message.url}
                alt={message.name}
            />
        </div>
    );
};
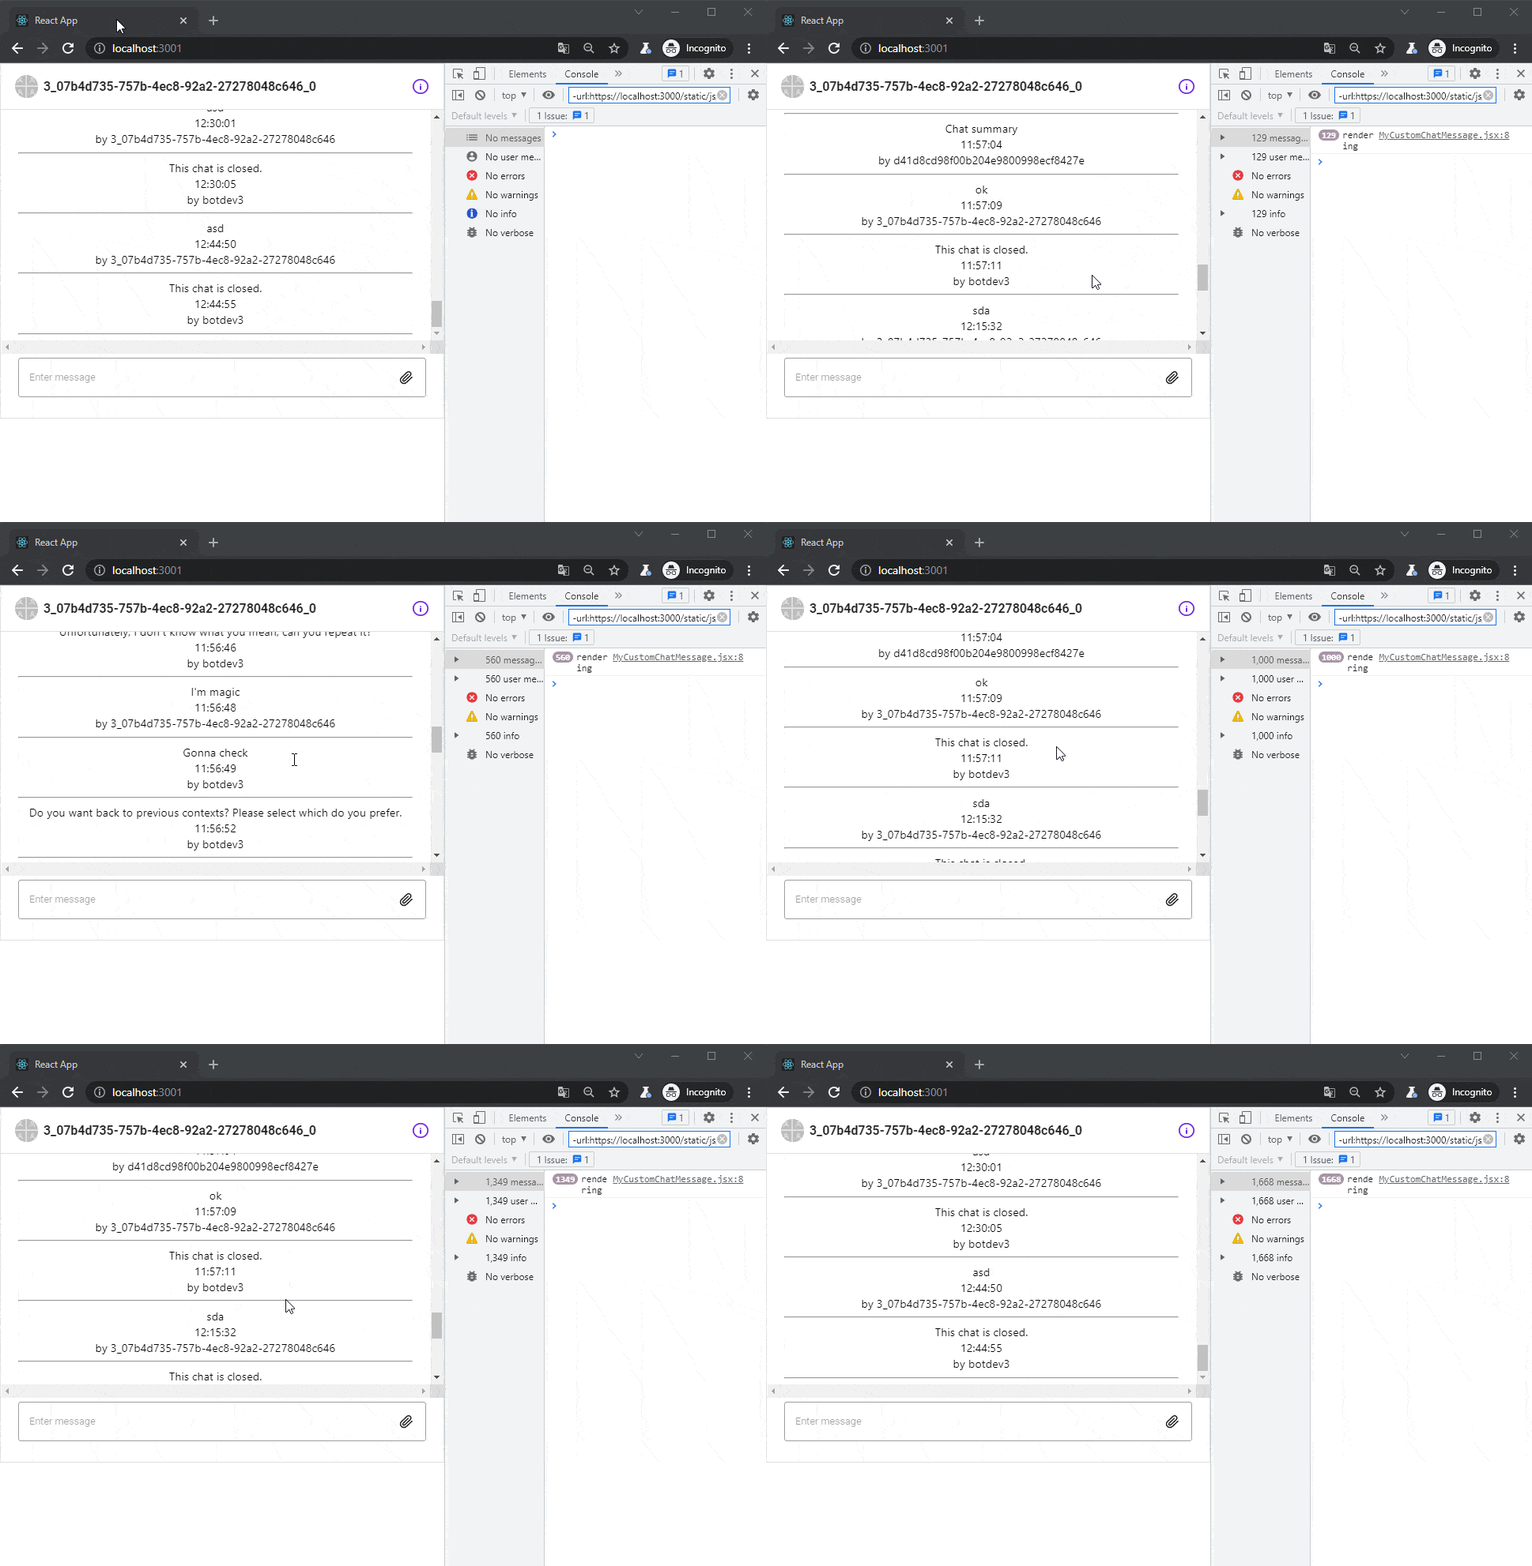
Currently, messages in React Chat are rendering very often. When you scroll the chat, the component is refreshed a hundred times every second. This sendbird implementation can:
- slow down the browser
- use a high amount of RAM
- crash the chat
- cause delays in chat scrolling
- lead to chat images flickering
- freeze the browser

Optimize SB Chat messages
To prevent excessive re-rendering in React we can use the React.memo function. It was introduced in React version 16.6 to optimize the render performance of pure function components. The result of the function wrapped in React.memo is cached and returned from memory. If function arguments don’t change, output doesn’t need to re-render. Let’s wrap our MyCustomChatMessage in React.memo.
// MyCustomChatMessage.jsx
export const MyCustomChatMessage = React.memo((props) => {
    // component body
    (...)
    // end of component
});
Using React.memo with SendBird
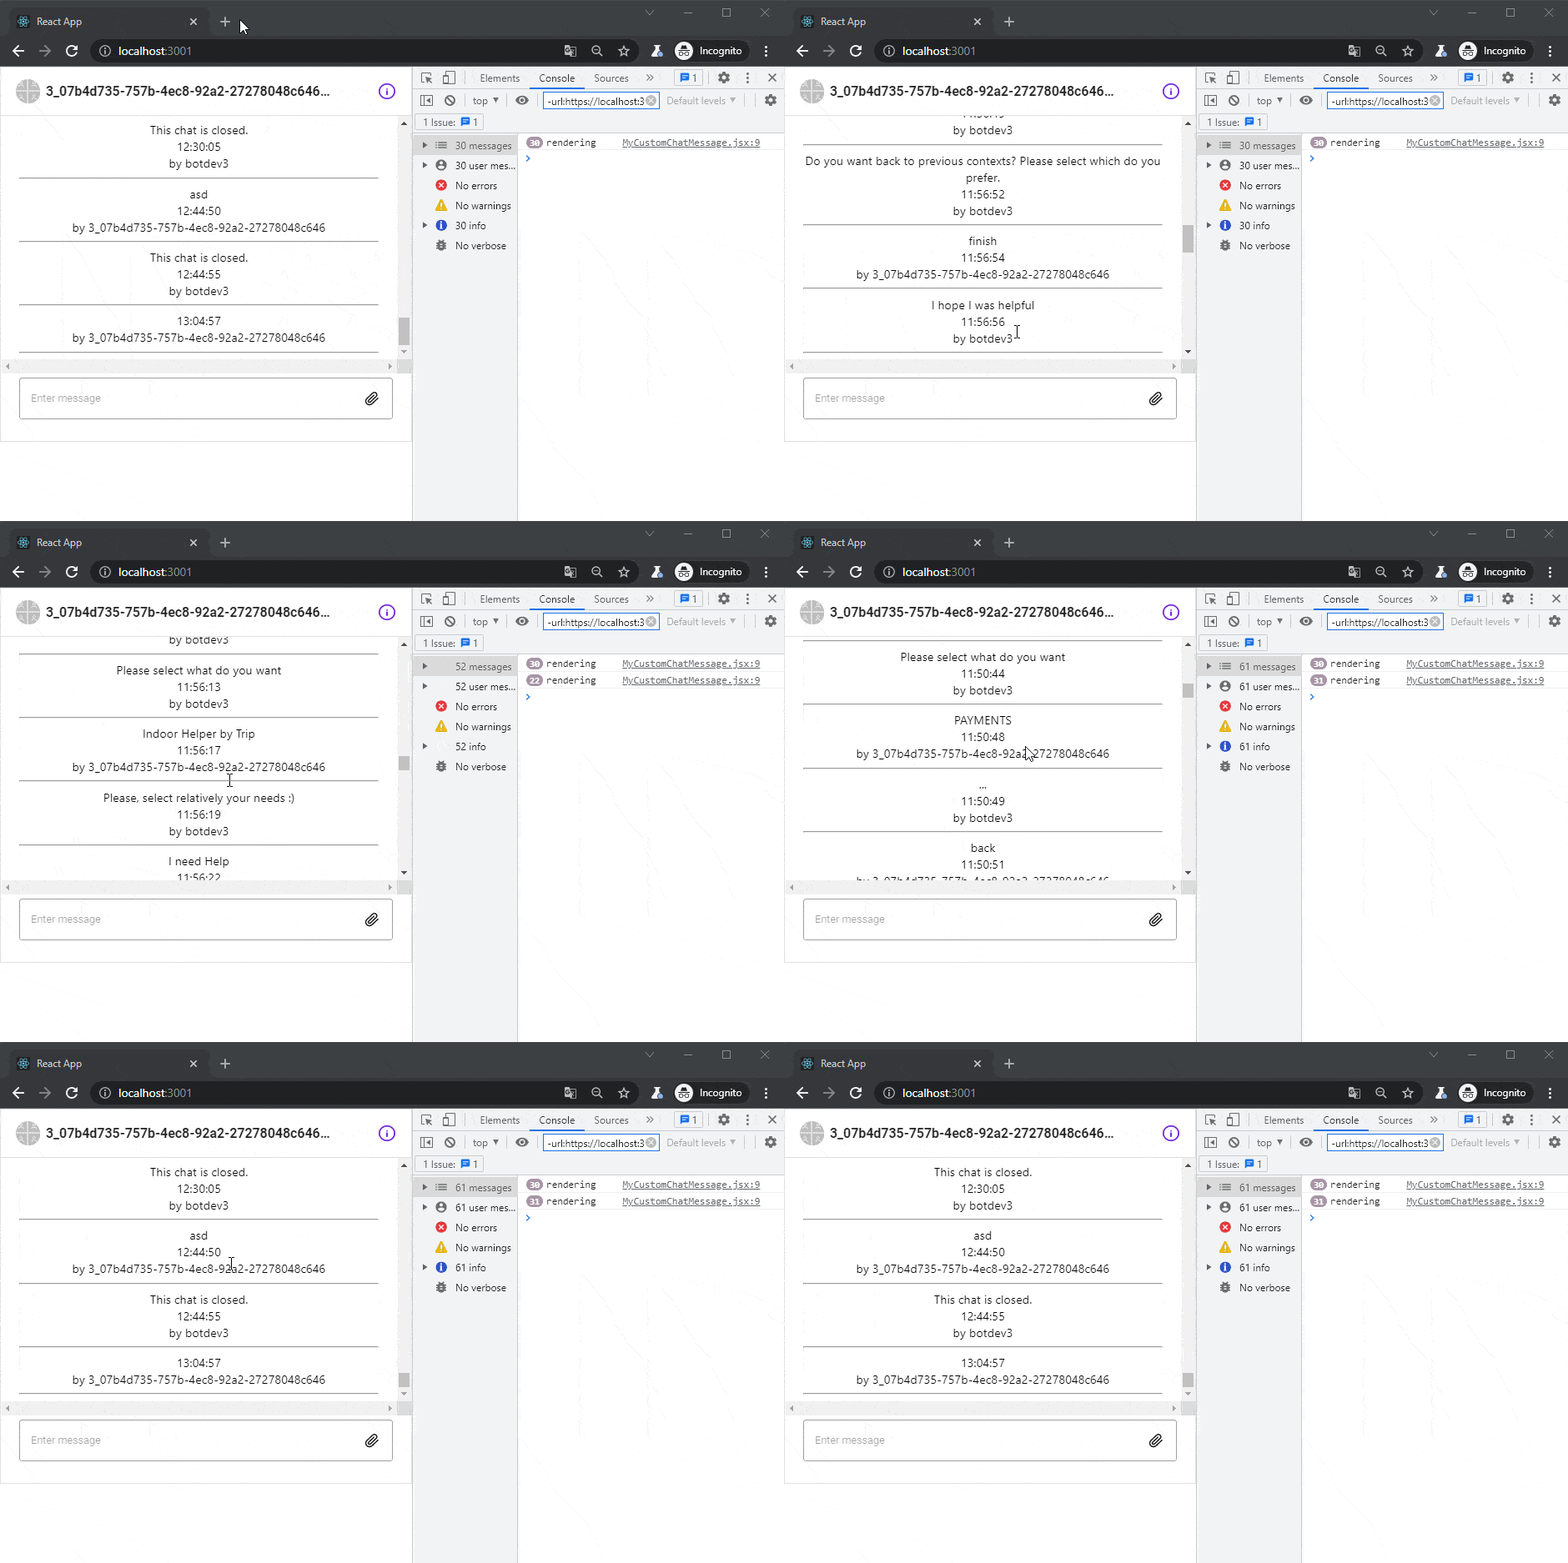
After our performance fix, the chat now works more smoothly, the browser is not doing unnecessary rendering. The component is rendered only on initial load and when fetching old messages.

That’s it for today’s tutorial. Make sure to follow us for other useful guidelines and sign up for our newsletter to stay up to date.


