i18next React – links inside translations

CHALLENGE: add dynamic translation to links in React
SOLUTION: use the LinkText component and the Trans Component from the i18next library
This article has been reviewed and updated in August 2024 to make it up to date.
react-i18next is probably the most popular NPM package for translating a React application. It’s downloaded over 1 million times every week. I18next as internationalization-framework is really a complete solution for making a multi-language app: it can detect user language, cache translations, add post-processing (sprinf support) or load files on demand.
Problem with i18next translation
As awesome as it is, it does not provide an easy way for translating phrases with variables inside. Let’s say we have a Privacy Policy text with two url values inside the text. The naive approach will be to hardcode urls for pages in every available json translation file.
The documentation doesn’t really provide a better solution. There is something like replacement tags, but the suggestion is to use the React Developer Tool to inspect an element and find out what node number is assigned to the word ( https://react.i18next.com/latest/trans-component#how-to-get-the-correct-translation-string ). In this article, we will describe how to do it better / easier.
React-i18next use variables in translations
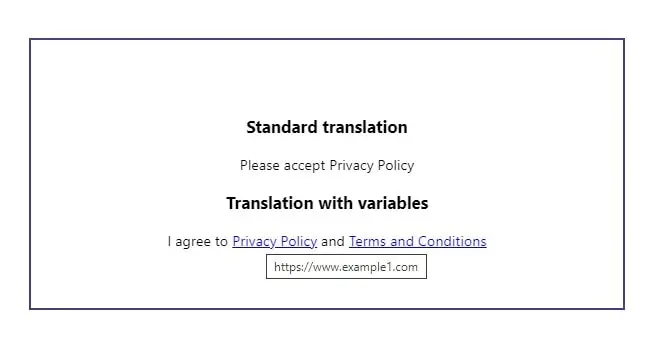
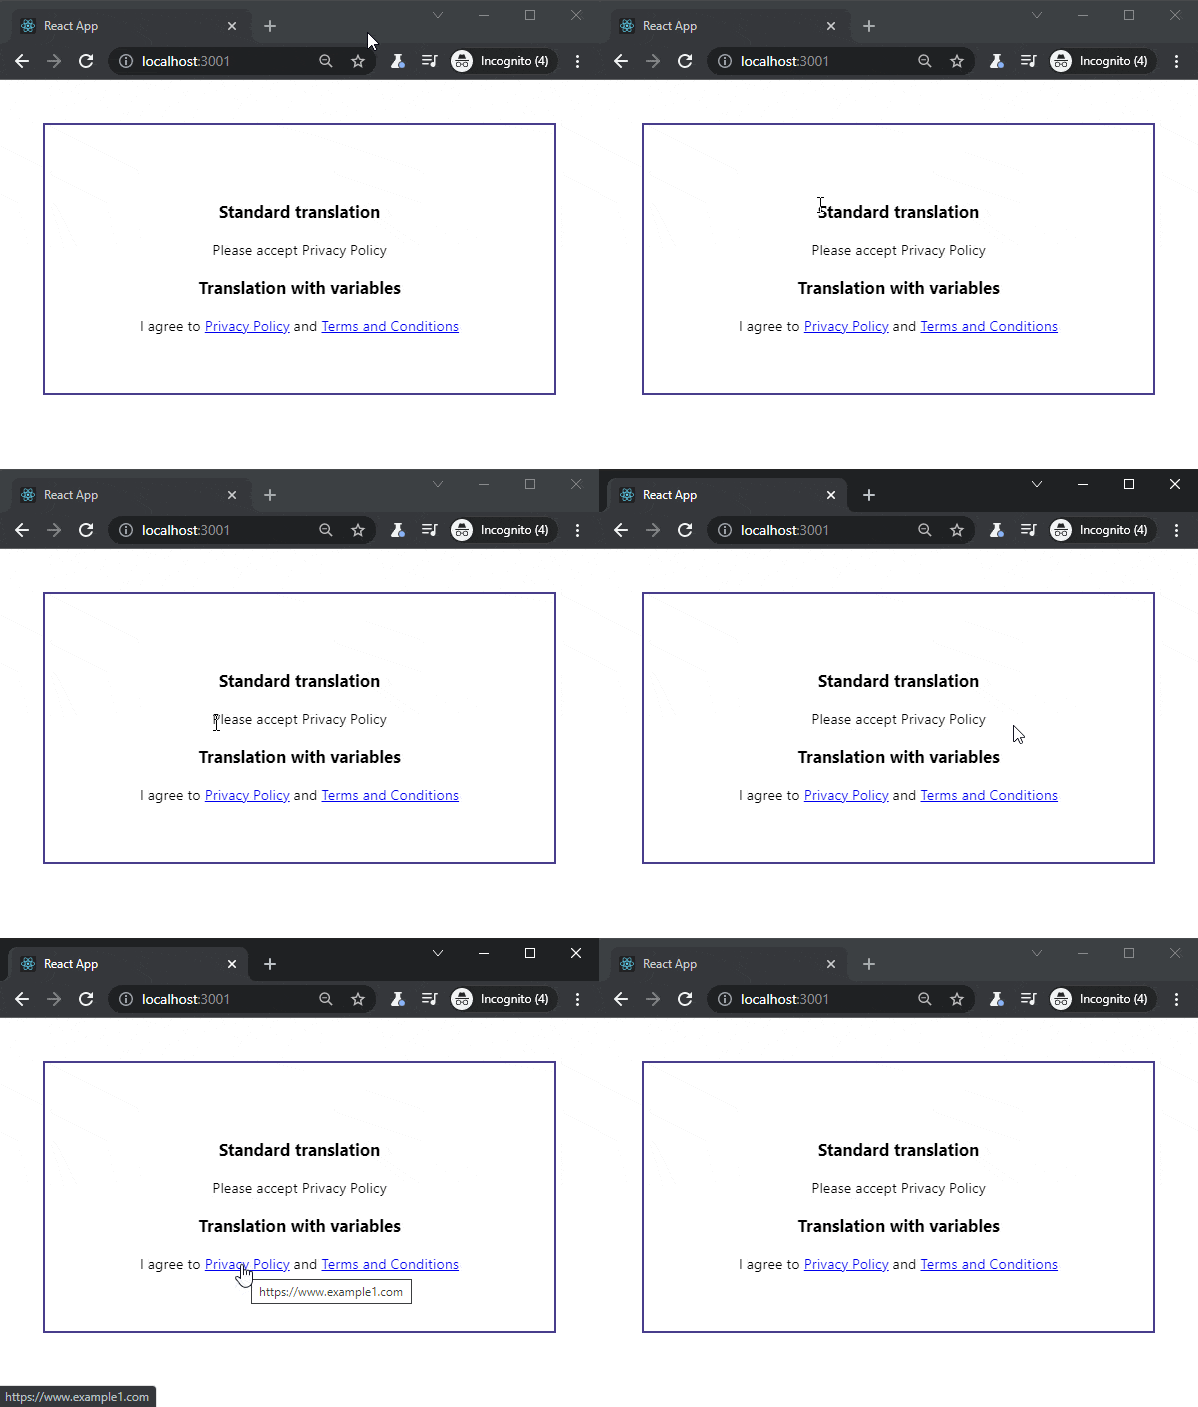
We have a privacy policy text that is displayed in the registration form. It includes 2 external links. We would like to pass those as variables to the main translation. This way, we will maintain a separation between i18n link constants and different translations of texts.
I agree to the Privacy Policy and Terms and Conditions
This solution provides a universal way to pass dynamic variables to internationalized strings. Your code will be cleaner and more readable.
Trans and LinkText component
Pure component LinkText uses props.children to put a text node label between opening and closing A Link tag. You can also pass other arguments, like: title or rel=”nofollow”.
Here is the entire trick to have a translation that uses predefined variables passed to the Trans component:
<Trans
    i18nKey="gdpr_policy_links"
    components={{
        link1: <LinkText to={link1} title="My link1" />,
        link2: <LinkText to={link2} title="Another link" />
    }}
/>
and the definition of the LinkText component:
export const LinkText = (props) => {
    return (
        <a href={props.to || '#'} target="_blank" title={props.title || ''}>
            {props.children}
        </a>
    );
};
React i18next link in translation
Now, let’s start from the beginning and let’s prepare a fully working example. The first step is to install the following dependency:
npm install react-i18nextImport i18n config:
// index.jsx
import React from 'react';
import ReactDOM from 'react-dom';
import './index.css';
import App from './App';
import reportWebVitals from './reportWebVitals';
import './i18n/config';
ReactDOM.render(
  <React.StrictMode>
    <App />
  </React.StrictMode>,
  document.getElementById('root')
);
// If you want to start measuring performance in your app, pass a function
// to log results (for example: reportWebVitals(console.log))
// or send to an analytics endpoint. Learn more: https://bit.ly/CRA-vitals
reportWebVitals();
Add a standard config file:
// src/i18n/config.js
import i18n from 'i18next';
import { initReactI18next } from 'react-i18next';
i18n.use(initReactI18next).init({
    fallbackLng: 'en',
    lng: 'en',
    resources: {
        en: {
            translations: require('./locales/en/translations.json')
        },
    },
    ns: ['translations'],
    defaultNS: 'translations'
});
i18n.languages = ['en'];
export default i18n;
Add a json file with the translation to: src/i18n/locales/en/translations.json
{
  "gdpr_policy_links": "I agree to <link1>Privacy Policy</link1> and <link2>Terms and Conditions</link2>",
  "gdpr_required_msg": "Please accept Privacy Policy"
}
The Main app with the Register Form and predefined links:
// src/App.jsx
import React from 'react';
import './App.css';
import {RegisterForm} from "./RegisterForm";
const LINK1 = 'https://www.example1.com';
const LINK2 = 'https://www.example2.com';
function App() {
    return (
        <div className="App">
            <RegisterForm link1={LINK1} link2={LINK2} />
        </div>
    );
}
export default App;
Here is an example of how to display translations using i18next. For advanced translations with a link, we’re using the Trans component that is provided by react-i18next:
// RegisterForm.jsx
import React from 'react';
import {Trans, useTranslation} from 'react-i18next'
import {LinkText} from './LinkText';
export const RegisterForm = (props) => {
    const {link1, link2} = props;
    const {t} = useTranslation();
    return (
       <>
            <h3>Standard translation</h3>
            {t('gdpr_required_msg')}
            <h3>Translation with variables</h3>
            <Trans
                i18nKey="gdpr_policy_links"
                components={{
                    link1: <LinkText to={link1} title="My link1" />,
                    link2: <LinkText to={link2} title="Another link" />
                }}
            />
        </>
    );
}
The last piece of the puzzle will be the LinkText component to apply links in the translation text:
// LinkText.jsx
import React from 'react';
export const LinkText = (props) => {
    return (
        <a href={props.to || '#'} target="_blank" title={props.title || ''}>
            {props.children}
        </a>
    );
};
That’s it for today’s tutorial. Make sure to follow us for other tips and guidelines and don’t forget to sign up for our newsletter.
Do you need someone to implement this i18next solution for you? You may need help from our experienced developers – check our software outsourcing and custom web development pages!


